When Cedar Siding and Shingles Need Recoating in Pacific Palisades
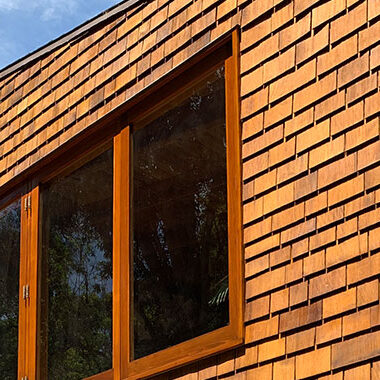
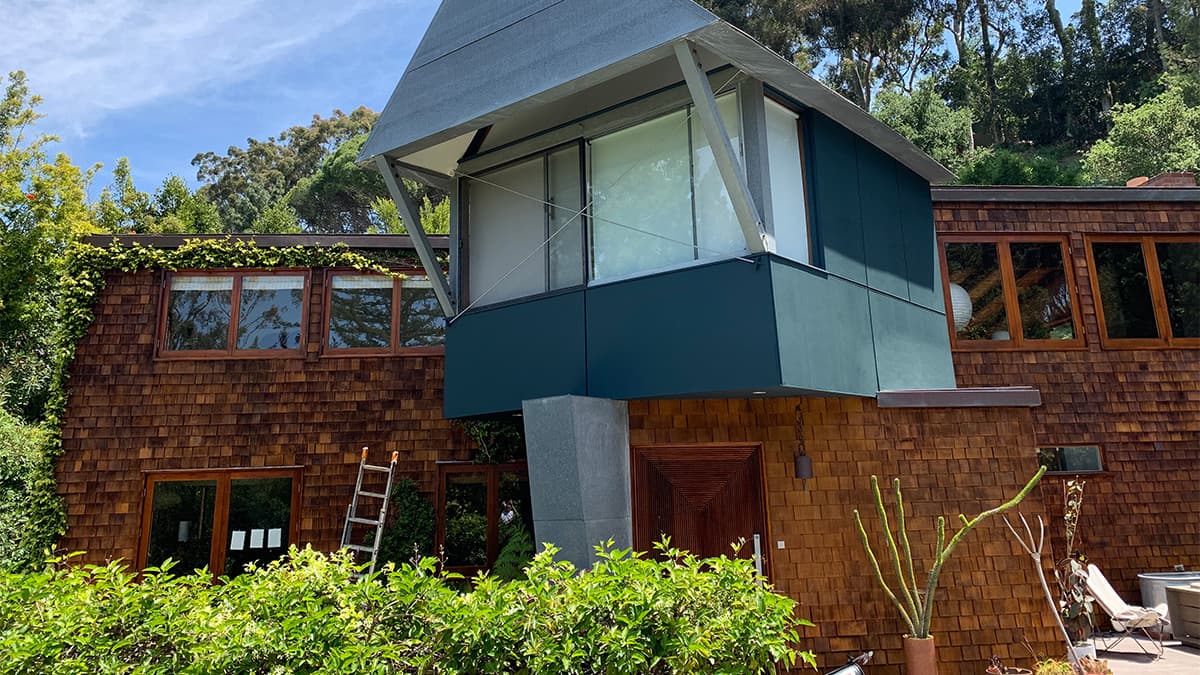
Cedar siding and shingles give Pacific Palisades homes warmth, texture, and a connection to the surrounding terrain. Sun, dry air, coastal moisture, wind, and uneven exposure also wear the finish. Cedar rarely fails on one schedule. One wall often looks sound while another starts fading, drying, or absorbing water.
The right time for cedar siding recoating in Pacific Palisades comes before broad finish failure. Early work protects more of the original wood, limits repair, and keeps the color consistent across the home.
When Should You Recoat Cedar?
Recoat cedar when the finish loses even color, water absorbs quickly, bare fibers look dry or fuzzy, or a film finish starts to crack or peel. Inspect exposed cedar every year. Judge each elevation separately, since south- and west-facing walls often need attention first.
Do not wait for every shingle or board to look worn. By then, the most exposed areas often need deeper cleaning, sanding, spot repair, or finish removal.
Why Cedar Ages Differently Near the Coast
Pacific Palisades and West Side homes face several forms of exposure at once. Strong ultraviolet light breaks down surface fibers and finish binders. Dry periods pull moisture from the wood. Marine air and morning dampness add moisture again. Wind carries dirt and salt onto open elevations. This repeated movement changes cedar and its coating.
Architectural details also shape the maintenance cycle. Deep overhangs protect upper walls. Open gables, chimney chases, parapets, lower shingle courses, and walls near irrigation receive more wear. Dark finishes also absorb more heat. The USDA Forest Products Laboratory guidance on exterior wood explains how sunlight, moisture, wood surface, building design, and finish selection affect exterior performance.
A calendar helps you plan inspections. The surface decides when work starts.
Seven Signs Cedar Siding or Shingles Need Attention
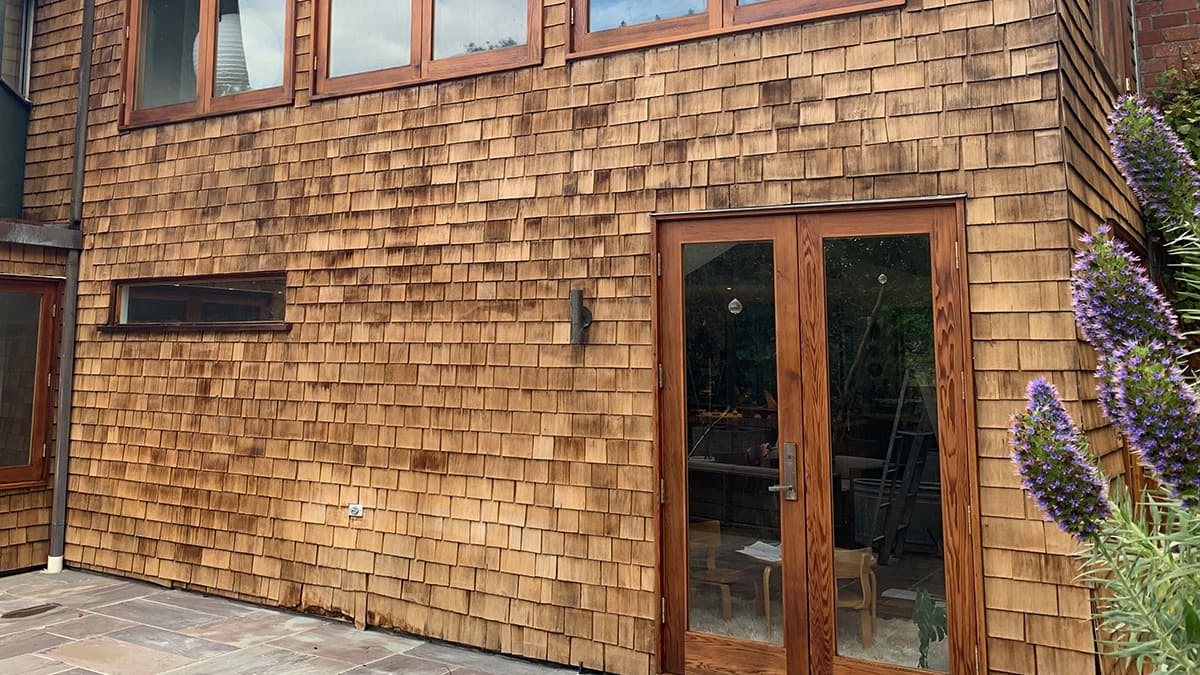
Uneven Fading
A small color shift looks normal. Broad contrast between protected and exposed areas points to finish erosion. Look under eaves, beside trim, and behind downspouts. Those sheltered areas show the earlier color and reveal how far the exposed surface has changed.
Water Soaks In Instead of Beading
Watch cedar during light rain or place a few drops of water on a test area. Fast darkening and absorption suggest weak water repellency. Compare several areas. One spot alone does not describe the full wall.
The Surface Looks Dry, Fuzzy, or Rough
UV exposure breaks down the outer wood fibers. The surface starts to look pale, fuzzy, or raised. Fresh finish over weak fibers will not bond well. Proper preparation must remove or stabilize the degraded layer first.
A Film Finish Starts Cracking or Peeling
Paint and some solid finishes form a film over cedar. Small edge cracks, flaking around fasteners, and peeling at board ends signal loss of adhesion. Moisture behind the coating might also contribute. Find the source before adding another coat.
End Grain and Lower Edges Wear First
Shingle butts, siding ends, corner joints, window trim, and lower courses often absorb moisture first. These areas deserve close review even when the broad field still looks good. Early spot work sometimes protects the larger finish cycle.
Dark Spots or Green Growth Return
Dirt, mildew, algae, extractive staining, and moisture marks need different treatment. Recoating over the symptom traps the problem under a new layer. A contractor should identify the cause, clean the surface with a suitable method, and address nearby moisture sources.
Shingles Cup, Split, or Lift
Coating does not repair failed wood. Loose, split, badly cupped, or soft shingles need repair or replacement before refinishing. Check flashing, drainage, roof-to-wall transitions, and plant contact at the same time.
Is Silver-Gray Cedar a Problem?
Not by itself. Unfinished cedar often weathers to a silver-gray tone. Many homeowners choose this look. The goal must stay consistent across the elevation, though. Uneven gray color, black streaks, fuzzy grain, moisture staining, failed fasteners, or open joints point to maintenance needs beyond appearance.
Leaving cedar natural also does not remove every maintenance task. Homeowners still need to inspect joints, end grain, flashing, sealant, plant contact, and drainage. If you want to restore warmth and color, read Tilo Martin Painting’s guide to staining cedar wood shingles and restoring their natural finish.
How Often Should Cedar Receive a Finish Review?
Inspect cedar once a year and after unusual heat, wind-driven rain, nearby construction, or irrigation changes. A natural-look or semi-transparent system often needs attention sooner than a solid-color stain or paint system. Rough-sawn cedar also holds some finishes better than smooth-planed cedar.
- Full sun and open exposure. Review these walls first. UV light and heat drive faster color loss.
- Protected walls. These areas often keep color and water repellency longer.
- Horizontal or near-horizontal surfaces. Caps, ledges, rails, and trim collect more water and need closer review.
- Prior finish history. Compatibility and preparation matter as much as the coating label.
- Wood condition. Weathered fibers, checking, loose fasteners, and moisture shorten the useful finish cycle.
For broader exterior planning, see when to repaint or restore a house exterior in Pacific Palisades. The same principle applies to cedar: work from condition, exposure, and surface history, not age alone.
Paint, Solid-Color Stain, Semi-Transparent Stain, or Natural Cedar?
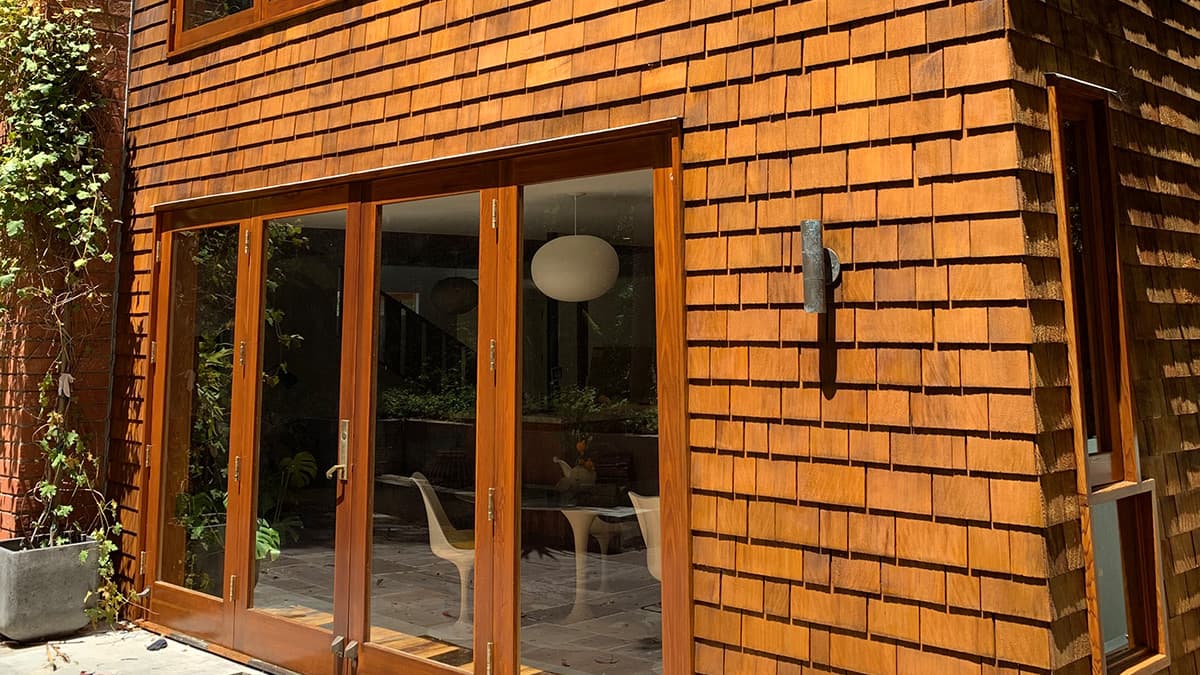
The best finish depends on the existing system, the cedar’s condition, the home’s design, and the look you want to keep. Switching systems often increases preparation. A small sample area helps confirm color, sheen, absorption, and compatibility before work spreads across the home.
Paint
Paint gives the strongest UV barrier and the most uniform color. It suits previously painted cedar when the existing system remains sound enough for preparation and recoating. Once paint starts peeling, crews must remove failed material and solve moisture issues before repainting.
Solid-Color Stain
Solid-color stain gives an opaque color while retaining more surface texture than many paint systems. Product type, primer needs, wood texture, and prior coating determine the right preparation.
Semi-Transparent Penetrating Stain
A semi-transparent stain keeps more grain visible. Penetrating systems often erode instead of peeling, which supports future maintenance. They also show color differences in the wood and often need a shorter maintenance cycle on exposed walls.
Natural Weathering
Natural cedar develops a gray patina. This direction works best when the owner accepts color variation and the construction details shed water well. It does not replace inspections or repairs.
What a Cedar Recoating Assessment Should Cover
A cedar exterior needs more than a product choice. Tilo Martin Painting’s professional exterior painting services start with surface review and preparation planning. A focused cedar assessment should cover the following steps.
- Identify the existing finish. A penetrating stain, solid-color stain, and paint require different prep and recoating plans.
- Map exposure by elevation. Review sunny, shaded, irrigated, and wind-exposed walls separately.
- Check moisture and adhesion. Look for water entry, failed caulk, soft wood, loose fibers, and weak coating edges.
- Choose a restrained cleaning method. Aggressive pressure washing damages soft cedar and drives water behind shingles.
- Repair before finishing. Replace failed shingles, address flashing or drainage, reset fasteners, and repair joints as needed.
- Prepare a sample. Confirm color, opacity, absorption, and appearance on the home’s cedar before full application.
- Follow the product weather window. Surface temperature, moisture, sun, wind, and expected rain affect application and curing.
Safety and Coating Rules Matter
Older homes need an extra safety review. If a crew will disturb paint on pre-1978 housing, the EPA Renovation, Repair and Painting Program sets lead-safe requirements for paid contractors. Testing and containment planning belong in the project scope before sanding or scraping starts.
Finish selection must also match local air-quality rules. South Coast AQMD Rule 1113 for architectural coatings limits VOC content for coatings supplied or sold for use in the district. Product compliance does not replace substrate testing or manufacturer instructions.
Why Cedar Work Needs a Specialized Approach
Cedar is soft enough to suffer damage from aggressive washing and sanding. Shingles also create hundreds of edges, overlaps, and shadow lines. A rushed process leaves lap marks, uneven color, trapped moisture, or failed finish around joints and end grain.
A contractor who works on high-end wood exteriors should protect adjacent stone, metal, glass, roofing, and landscaping. The crew should also sequence the work so each elevation receives consistent preparation and application. Tilo Martin Painting serves homeowners looking for a Pacific Palisades painting contractor with exterior wood experience.
Plan Recoating Before Wear Spreads
Cedar maintenance works best when you respond to early changes. Watch color, water absorption, grain texture, coating edges, shingle movement, and moisture-prone details. Compare exposed walls with protected areas. Then choose a finish plan based on the current surface, not a generic schedule.
Cedar Siding and Shingles Recoating FAQ
If your cedar siding or shingles are fading, drying, or weathering unevenly, request a painting estimate to review the condition and the right finish approach for your home.